Friday, March 10, 2017

A very easy shirt (a sewing tutorial)

Hey there,
this is a tutorial on how to make a very easy shirt like this:


It's basically just two seams and adding cuffs to the neckline, hem and sleeves. And no pattern required; you'll be making your own!

So, to make this type of shirt, you'll need:
- A piece of jersey/stretchy fabric that's twice as long as you want your shirt to be and as wide as the measurement from wrist-to-wrist (with your arms stretched out to the sides), plus maybe some extra for the cuffs (although most likely you'll be able to cut the cuffs from the pieces left over after cutting the shirt piece out).
- A serger or a sewing machine with zigzag/stretch stitch
- A shirt that fits you. It's a bonus if the sleeves of the shirt are dolman or batwing type (they go relatively straight to the sides and don't slope down too much), but it doesn't really matter.
- Some paper to trace your shirt on

Take your shirt and fold it in half onto the paper.


If you want to make the new shirt longer or shorter, adjust the length. I made my new shirt waist-length. When tracing, you want the sleeves to go straight to the sides, so the angle is 90 degrees:


If the sleeves of your original shirt slope down, just draw the line straight to the side and measure the width of your sleeve downward from that, like this:


Draw the shirt to the length you want it to fall. We're snipping the cuffs off after drawing. Draw the neckline as big as you want it in the end, following the finished neckline of your original shirt or making the neckline smaller or bigger if you like. Usually the neckline is lower at the front, but I made mine a boat-neck so it's identical on both sides. You can make the neckline the way you want; you just need to make a separate pattern for the front and back neckline and neckline cuffs if this is the case.

Here I've marked the cuffs into the traced shirt:


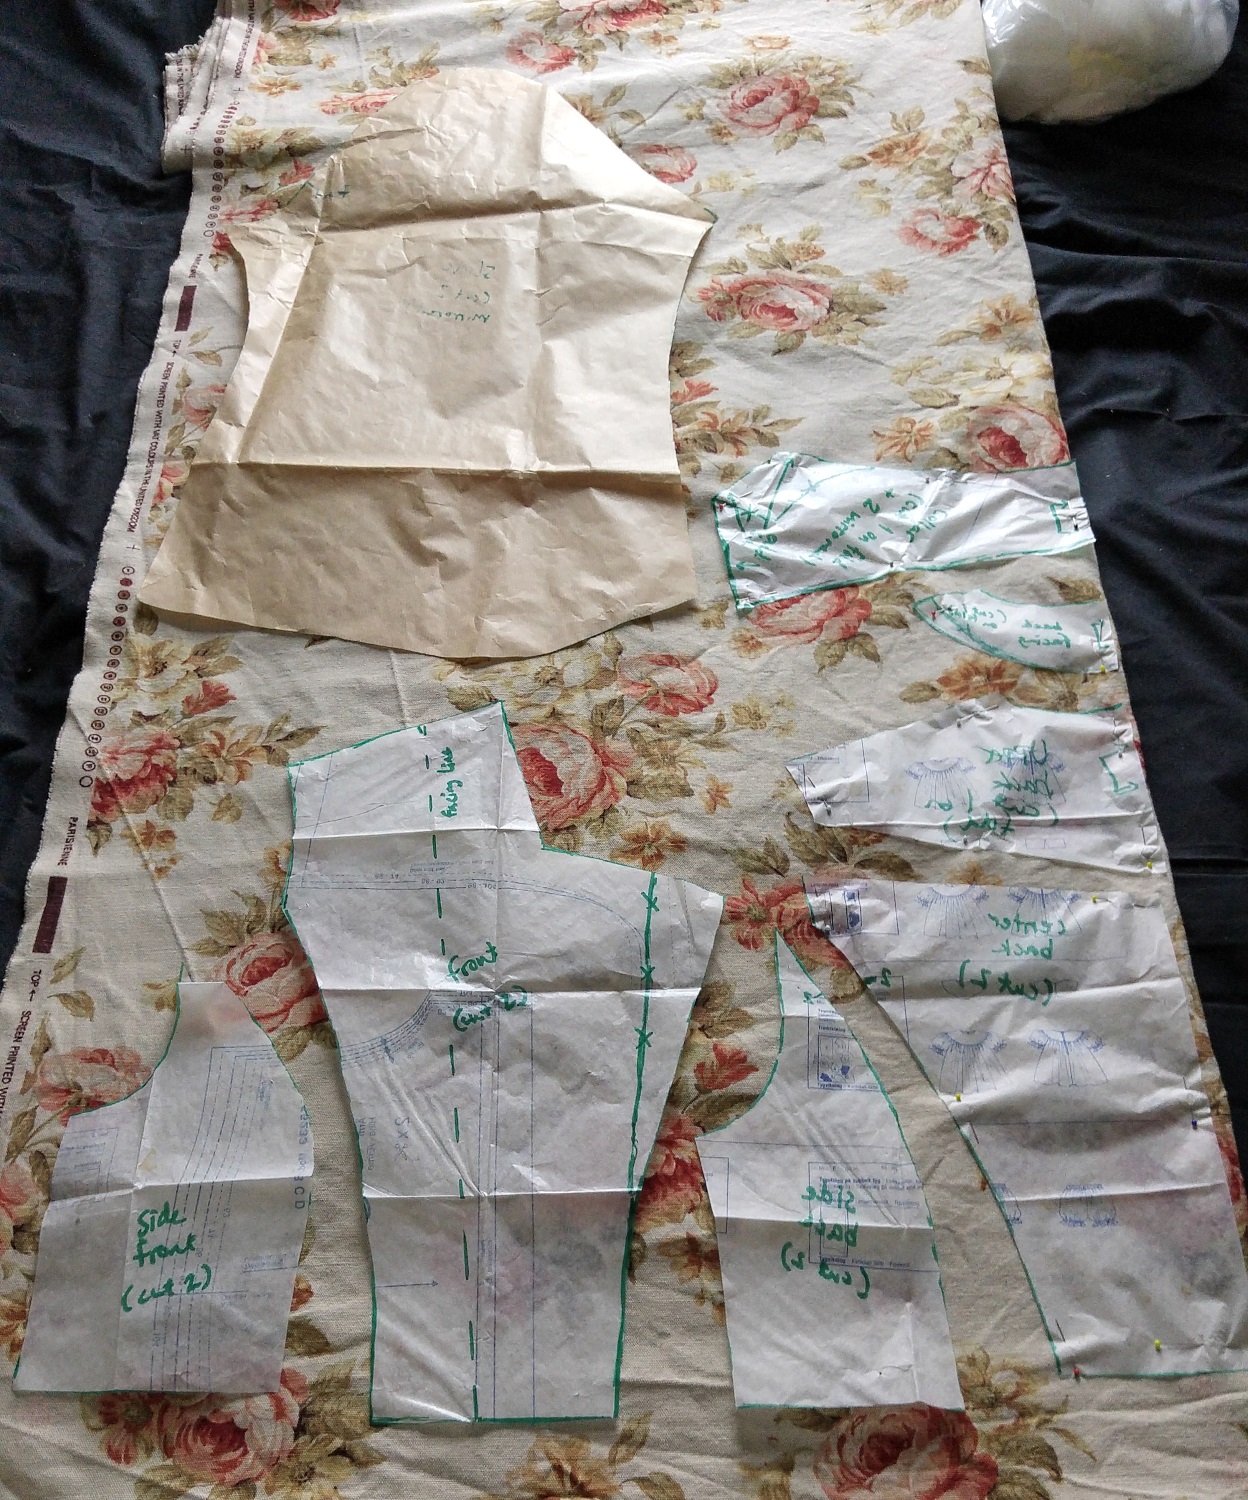
Then cut out your shirt pattern:


Fold your fabric half length-wise AND width-wise so you have four layers of fabric. Place your pattern on fold:


(I hope these pictures clarify a bit how it's supposed to go even though the pattern is upside down in the first one...)


Then simply cut the shirt piece out. Don't cut any of the folded edges, just cut the neckline out of the corner and then along the hem, side and underarm. Leave some seam allowance as you cut so you don't end up with a shirt that's too tight.

Cut the cuffs. Cut 2 of each on fold on two sides just like the shirt piece.


Now, if your neckline is lower at the front, you need to make the neckline cuff from two pieces and sew the front and back neckline cuffs together at the shoulders to make them into circles. If you cut the necklines with shoulder seams, cut two of the back and two of the front.


Once you have all your pieces cut, it's time to get sewing!

If you spread out your shirt piece, it looks like this:


Sew the cuffs into loops.


For the sleeve and hem cuffs, fold them in half so the wrong sides are inward and raw edges meet. For the neck cuff also fold it so wrong sides are together (you probably need to iron it so it stays like that).


Next, fold the shirt right sides together length-wise and sew the side / underarm seams.


Turn the shirt right side out and attach cuffs like so:


Same goes for the sleeves, just match the one seam of the sleeve and the cuff.


Do the same for the neck cuff. It's a bit more difficult because it is narrower toward the center, but as the center stretches it's not impossible.

And the shirt is done!


You can leave it simple or add something decorative. I added this iron-on embroidery patch.


***


I hope you find this tutorial helpful and if there's anything that was unclear, don't hesitate to ask in the comments; I'll do my best to clarify things.

If you make your own shirt using this tutorial, leave me a comment linking to your creation or tag it on instagram using the hashtag #sewscoundrel :)

love,
Satu / Sew Scoundrel


Monday, March 6, 2017

Floral coat from secondhand materials

Hey everyone,
I spent the weekend by making a floral spring coat.


I found about 3 meters of this light beige floral upholstery fabric in a secondhand store for 18 euros. It felt expensive (because I'm used to paying less than 5 euros for my fabric pieces :D), but it screamed to me that it wanted to become a coat, so I had to buy it.


I had a vision of a collared coat, fitted at the waist but full at the hem. Kind of a like a circle skirt dress but in coat form. Slight bishop sleeves, and some kind of fun pockets of course. (The bishop sleeves were inspired by this month's Make Thrift Buy Challenge on Facebook.)

I made pattern pieces for the bodice.


Then I did something that's very atypical of me: I actually made a mock-up. I'm usually the type to just sew things together on a whim and then fix any faults afterwards, but I wanted to make sure I got the collar and the fit right, so I made a mock-up of the bodice pieces. And it's a good thing I did, because I ended up modifying quite a few of the pieces after trying on the mock-up version.

When I was satisfied with my pattern changes, I pinned the pieces on the actual fabric.


Here are the front and back pieces cut:


And sewn:


I interfaced the bodice pieces with fusible interfacing. I double-cut the front pieces and the top back piece to make facings. I also cut a strip for the waistband and two wide strips for facings that run down the front of the coat.

I sewed the bodice together:


I sewed the sleeves and attached them to the bodice.


At this point, I only had about 1.35 meters of the fabric left, so I had to play a game of Tetris to get the fullest possible skirt for the bottom portion of the coat. In the end I figured out a way to get a 3/4 circle that would be knee-length - perfect!


I had to cut the bottom section in 6 pieces due to amount of fabric I had left, and further slice two pieces in half to get the pockets at the side seams like I wanted.

Here's a diagram of how the bottom of the coat was cut:


Here's how the bottom pieces looked like sewn together:


I made these curved pockets to the side seams:


I attached the waistband on the bodice...


...and the bottom part to the waistband.

I then assembled and attached the collar.


It's starting to look like a coat!


Time to tackle the lining:


The lining fabric is a pair of pale pink slippery curtains I bought secondhand for 4 euros. I cut out the bodice pieces (minus the front pieces and the topmost back piece that I'd already cut out of the floral fabric).

Here are my facing pieces for the front and the back:


I cut the 3/4 circle pieces from the curtain (in 3 pieces because I had enough fabric to do so and no need for pockets on the inside). I cut these pieces a few centimeters shorter than the coat's hem so the lining would not peek from under the hem after bagging the lining.


I assembled the lining pieces and attached them to the facing pieces.


Lastly I sewed the sleeves onto the lining and the lining was ready to be attached to the coat.


I bagged the lining using this ingenious idea I found when I was searching for tutorials to make a lined cape coat. I sewed the lining right sides together onto the coat at the top, sides and hem - the sides being where the front opening attaches to the facing. I ironed the seam open on one side, and as I knew I would be top-stitching down the sides anyway, I then ripped a hole to the seam attaching the front facing to the front. I turned the whole thing inside out using this hole, and then I could simply top-stitch down the front and it would close the gap. Easy as pie and no hand-sewing involved! :) Unfortunately I got so into this that I totally forgot to take pictures, sorry!

(I actually ended up seam-ripping both of the front seams because I chose a zipper as my method of closure instead of buttons, and I wanted the zipper to be sewn in between the front and the facing, but that's another story... and of course I forgot to take pictures of that as well.)

So, after I had attached the zipper and top-stitched down from the collar to the hem, all I needed to do was finish the sleeves.

I made cuffs for the sleeves.


The idea with these is to gather the sleeve to match the cuff, then sew the end that's not turned (right sides together and raw edges matching) onto the gathered sleeve. Then the cuff is turned inside the sleeve so it's folded in half, and the turned edge hides the raw edge of the cuff and the gathered sleeve. The sleeve is pulled inside out through the armhole and the cuff is hand-sewn into the lining, hiding all raw edges.


I gathered the sleeves by hand, then stuffed the cuff over it and sewed around the cuff.

Here's the cuff sewn and folded in half so the other half is on the inside:


And here's how it looks on the inside once the other side is sewn onto the lining:


Once the cuffs were in place, I gave the coat a thorough ironing and steaming, and it was finished!


I made a custom label for my coat. ^_^


***


I also took the coat out for a spin:


This is my awkward spring dance. :D


***


So, I'd say this project was a success. The coat fits me very well - the only thing I'd change if I could is I'd make the sleeves just a few centimeters longer. I might let out the cuff and add some length there at some point, but otherwise I am very please with how this coat turned out.

The total costs:
- Upholstery fabric 18 euros (secondhand)
- Pink curtains for lining 4 euros (secondhand)
- Zipper 0,50 euros (secondhand)
- Fusible interfacing, about 4 euros (I estimate I used about a meter and it's 4 euros / meter)
= 26,50 euros. Pretty good deal, I'd say. :)

What do you think of the coat?

love,
Satu / Sew Scoundrel